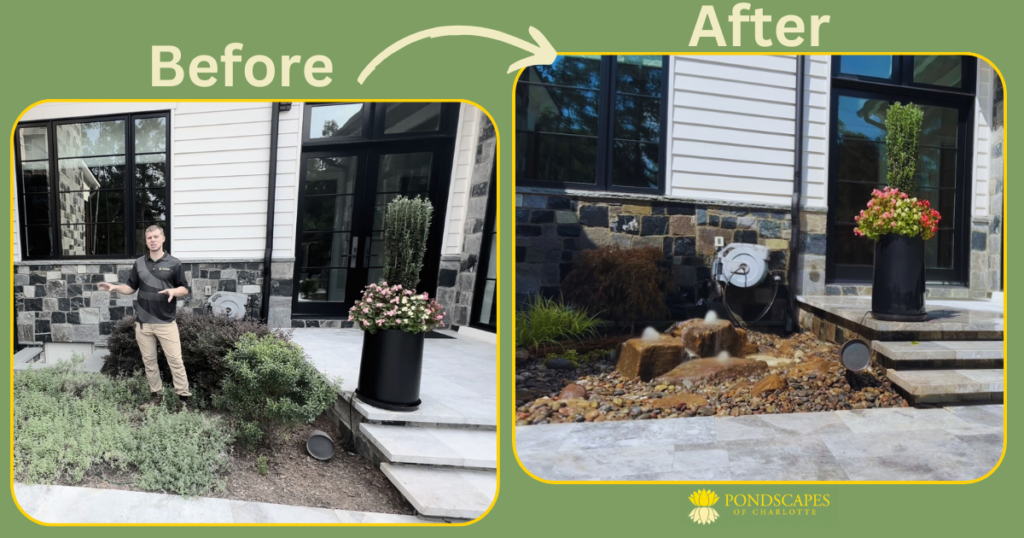
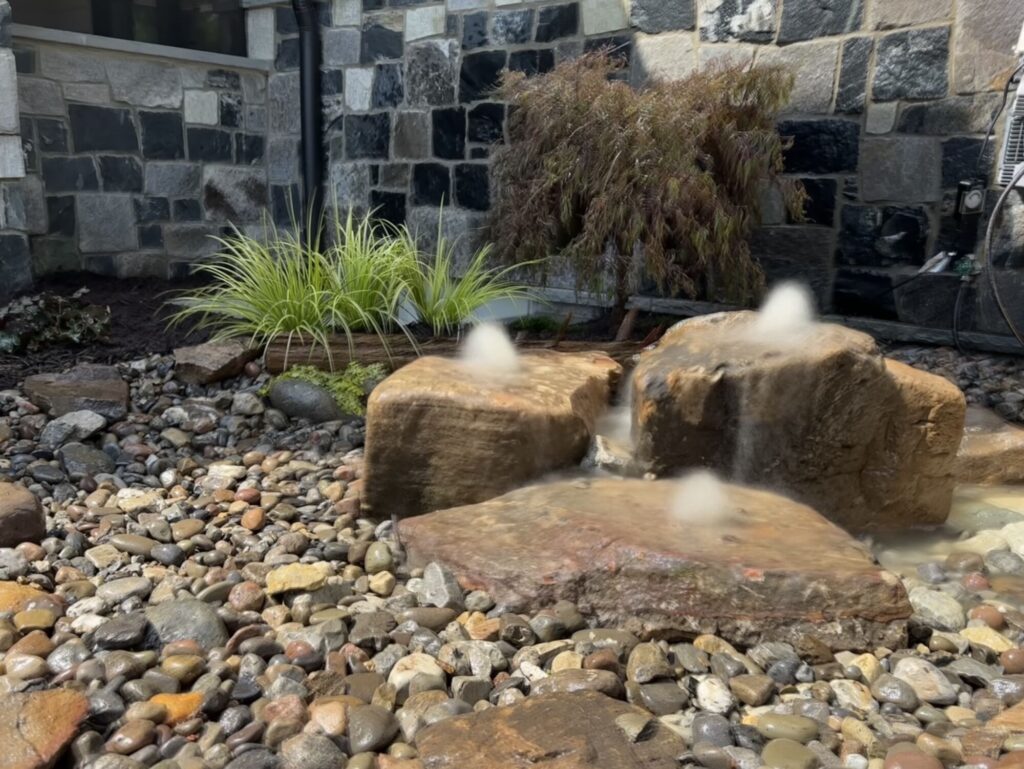
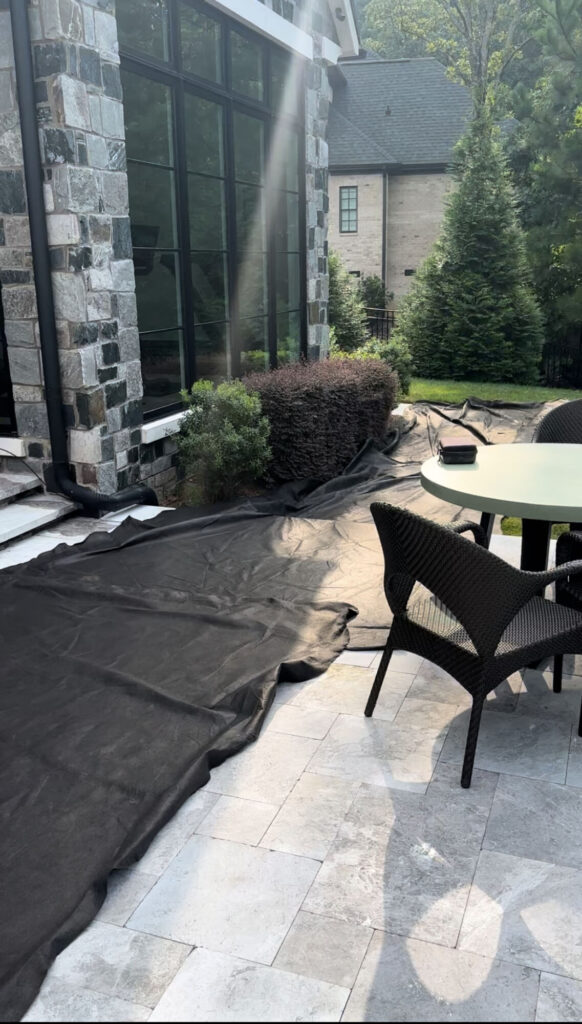
Step #1
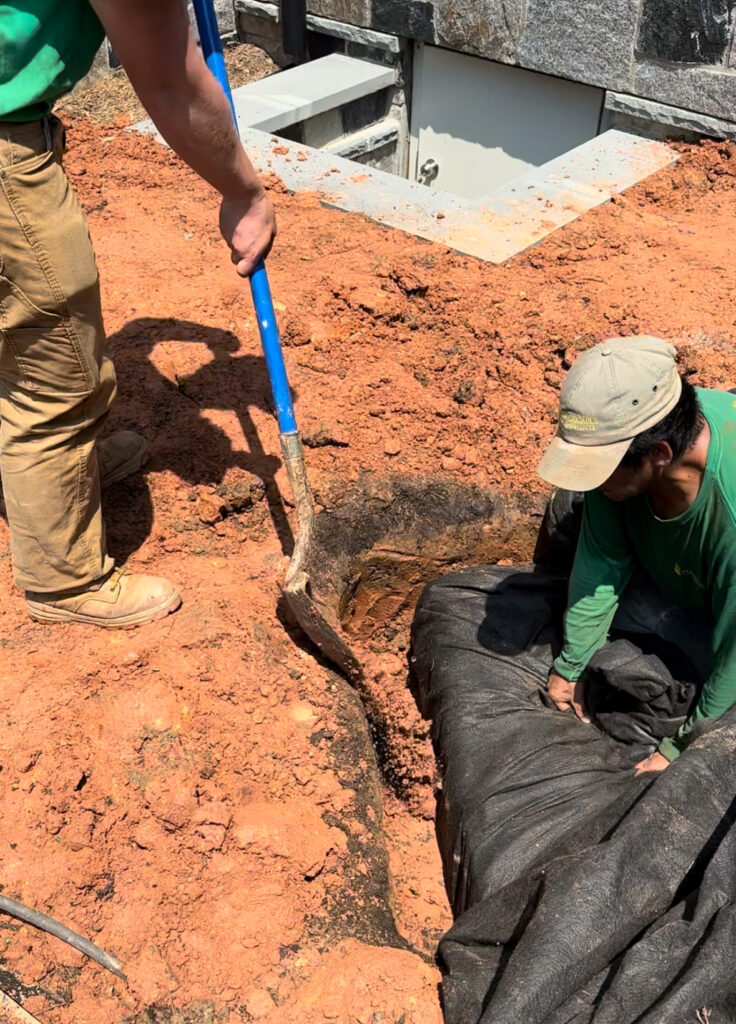
Protect area we are moving materials across. We laid down a protective layer of underlayment to keep the red clay off of the white pavers. On top of the underlayment we laid plywood to make sure not to scratch the pavers.
Step #2
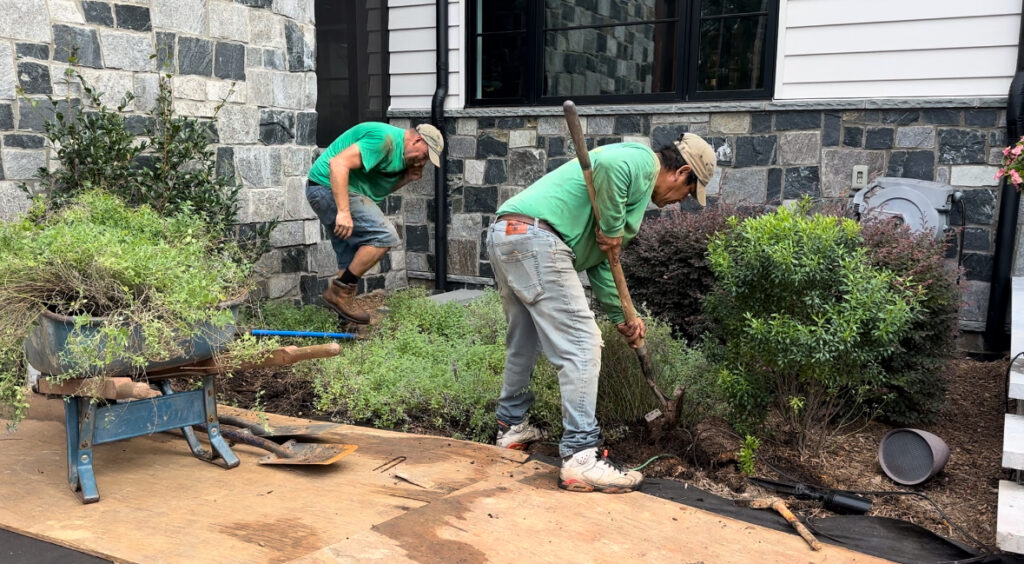
Clear the landscape to start from scratch
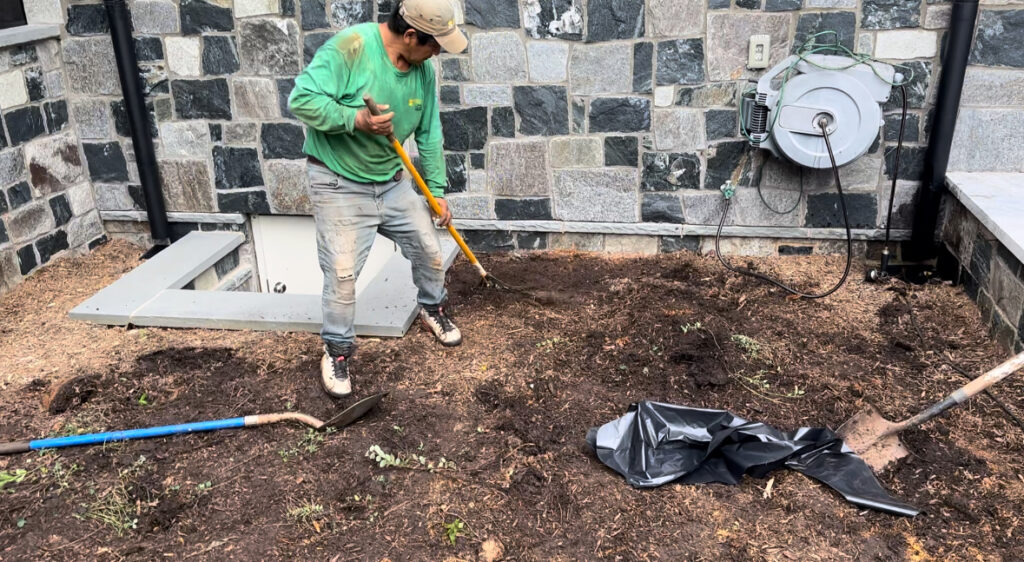
Step #3
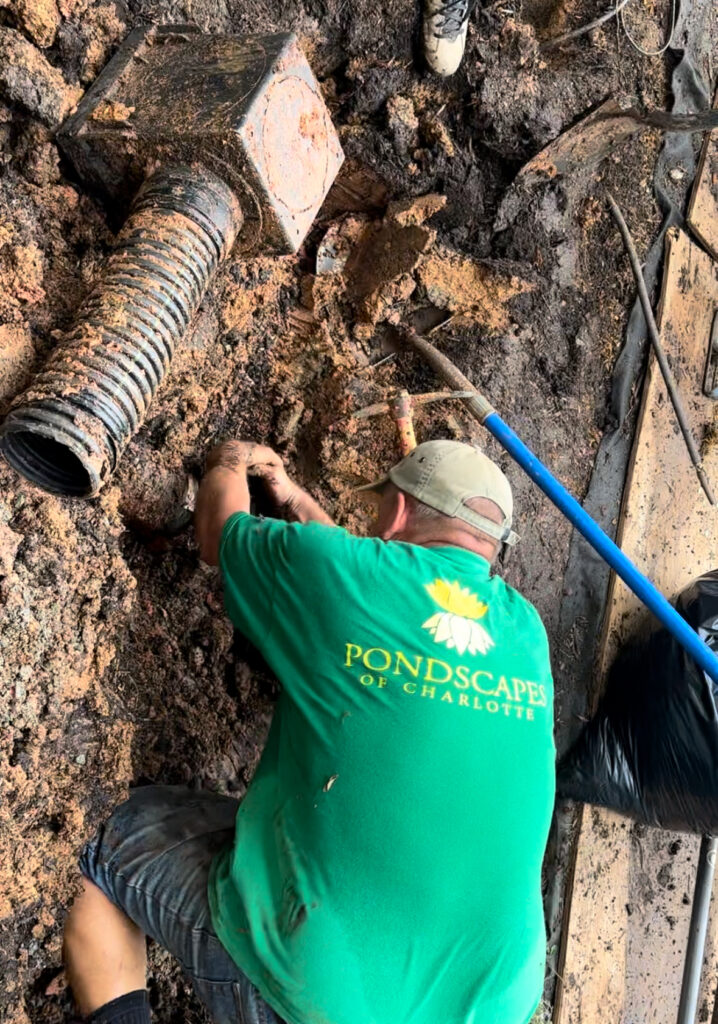
Reroute existing drainage and move irrigation drip line out of area of excavation.
Step #4
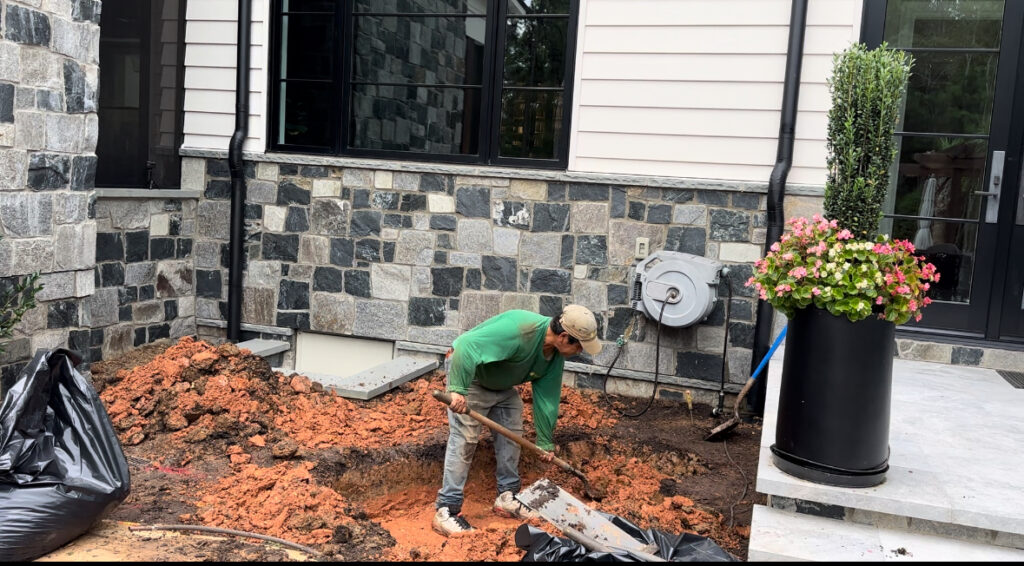
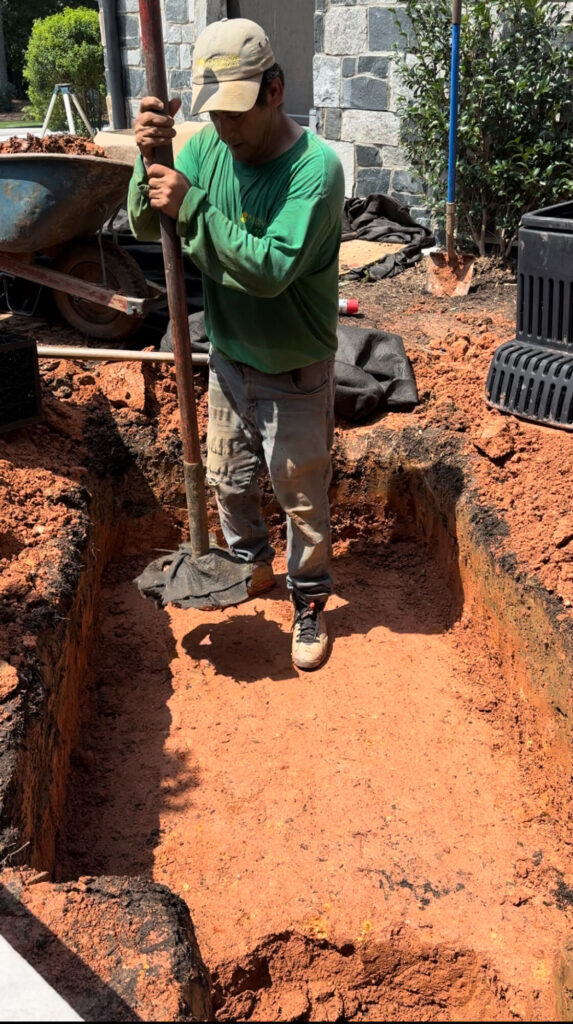
Excavate for underground water storage
Step #5
Level out bottom of excavation and compact dirt.
Step #6
Add protective underlayment
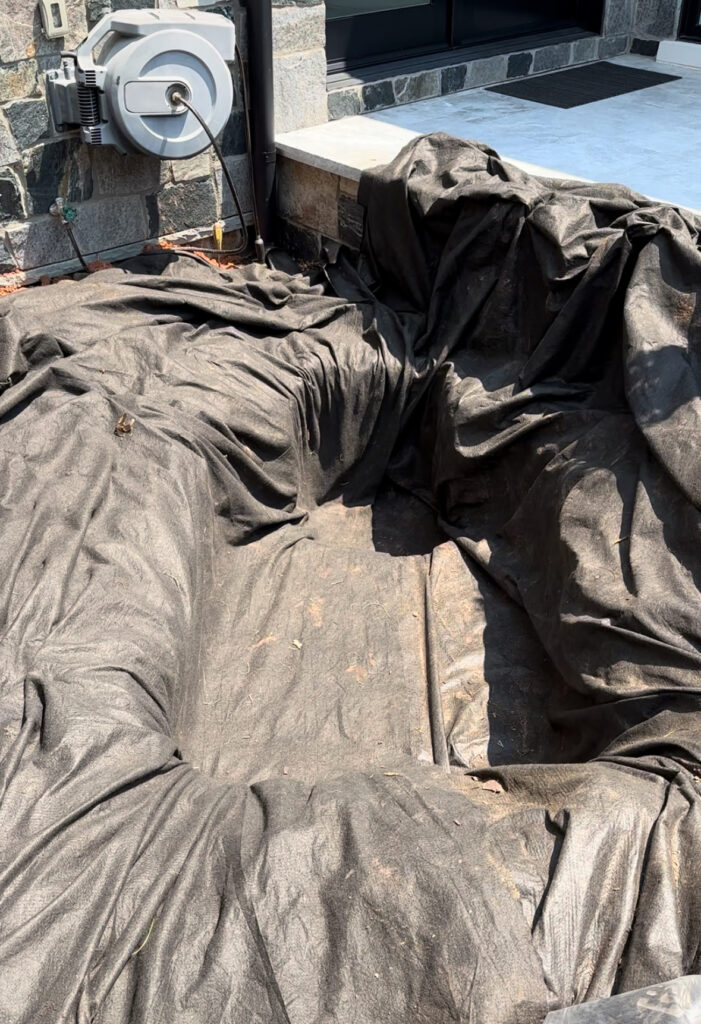
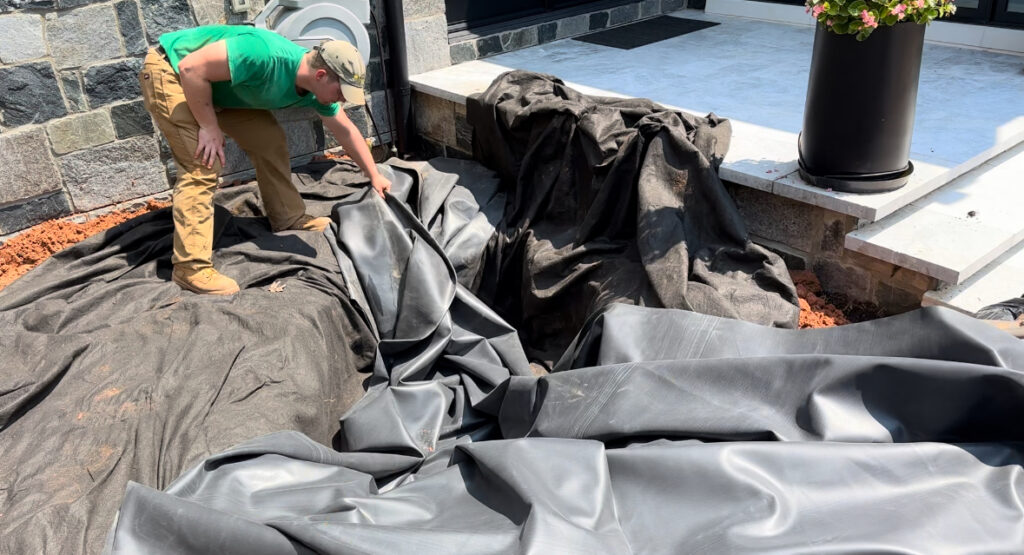
Step #7
Add 45 mil EPDM liner ontop of your underlayment. This is what will keep the water inside the feature.
Step #8
Add Aquascape Pondless Reservoir vault and four small aquablox on top of liner. The vault will be where the pump is located and be the lowest point of the feature. The aquablox provide the greatest amount of water storage for the system while filling the voided space.
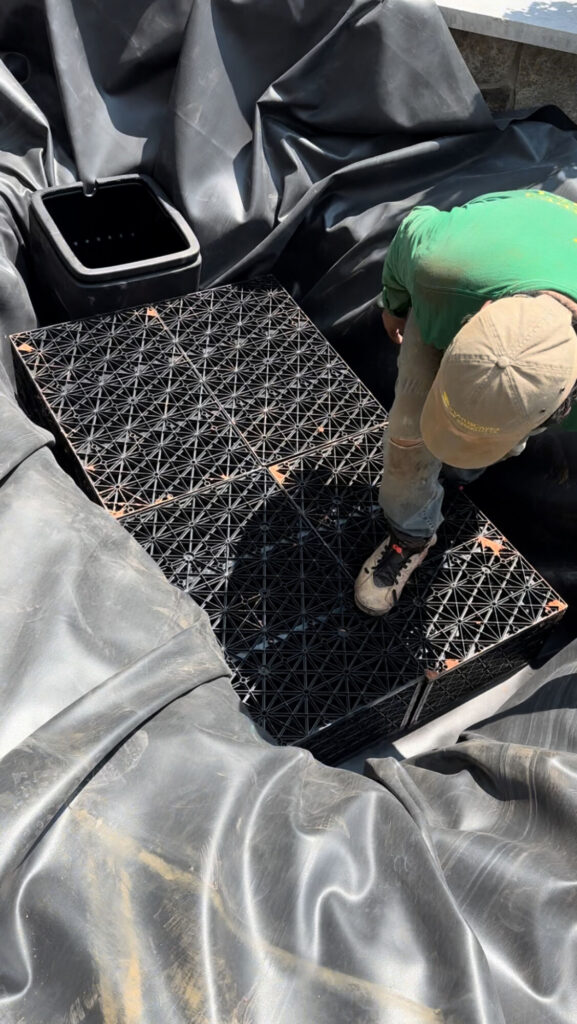
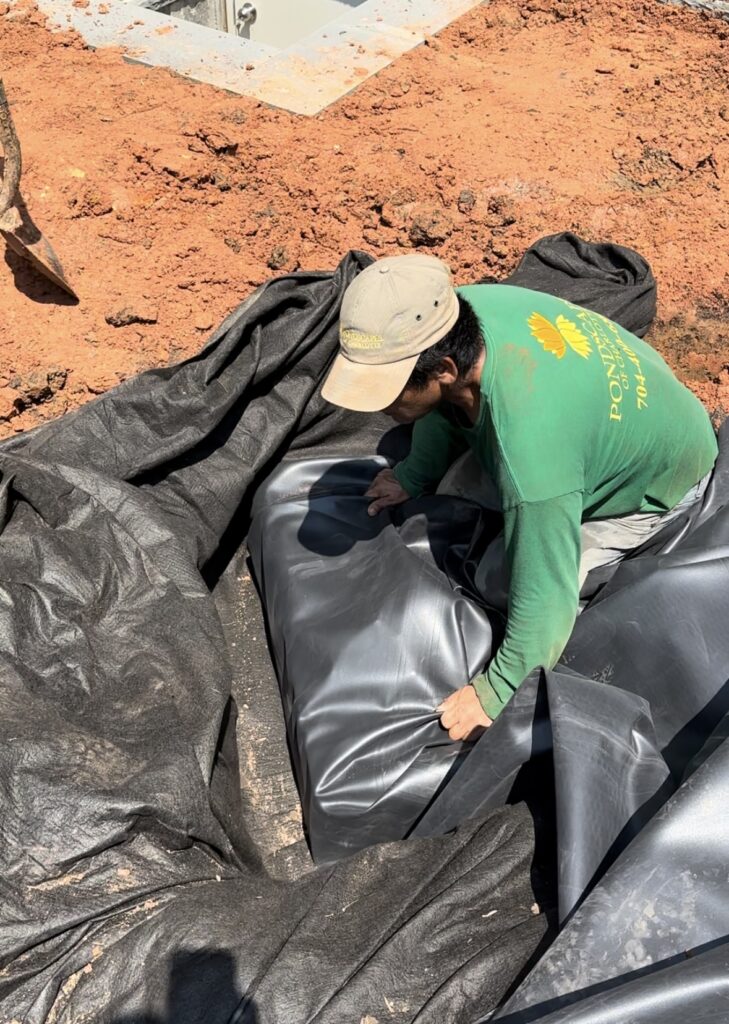
Step #9
Fold back the liner against the sides of the aquablox until tight then fold the underlayment back overtop of the liner
Step #10
Backfill with dirt to 1″ below the top of the aquablox on all 4 sides and compact. After this it is a good idea to fill the reservoir with water and test to see if it holds.
Step #11
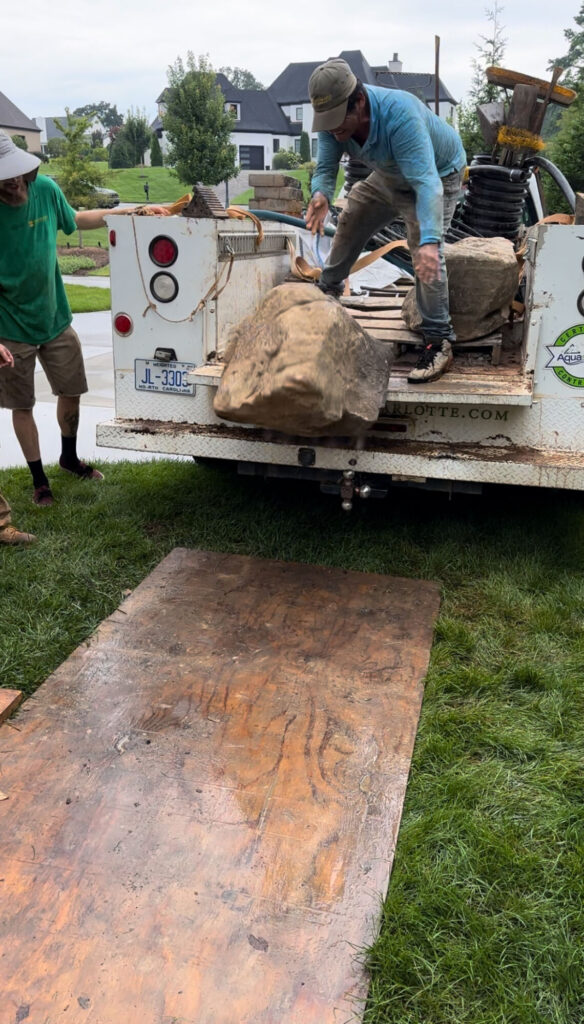
Unload the three bubbling boulders from truck. We laid down a piece of plywood to help protect the grass before rolling the boulders out the back of the truck. In the photo to our left you can see Vicente rolling the largest of the three boulders off the truck.
Step #12
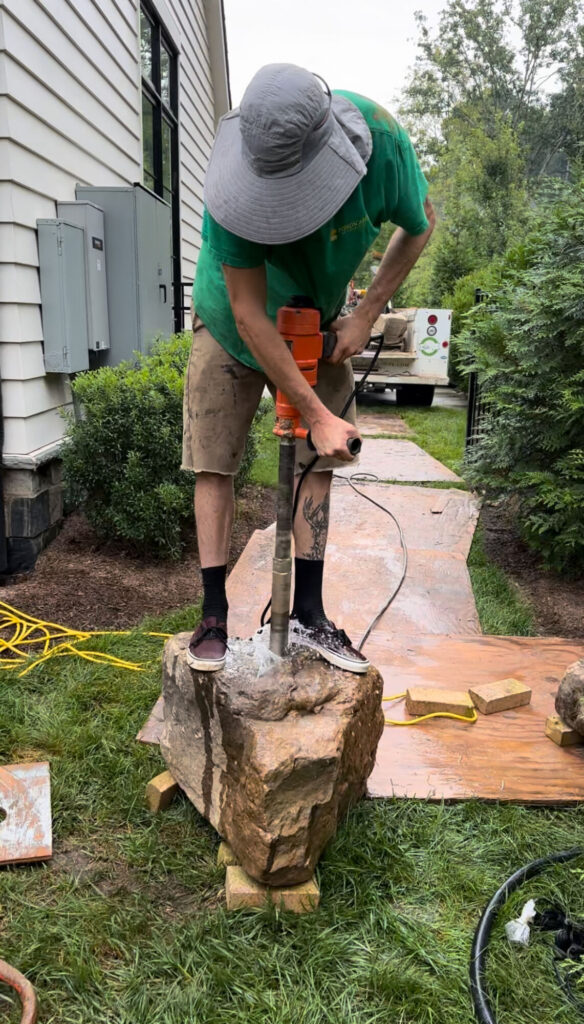
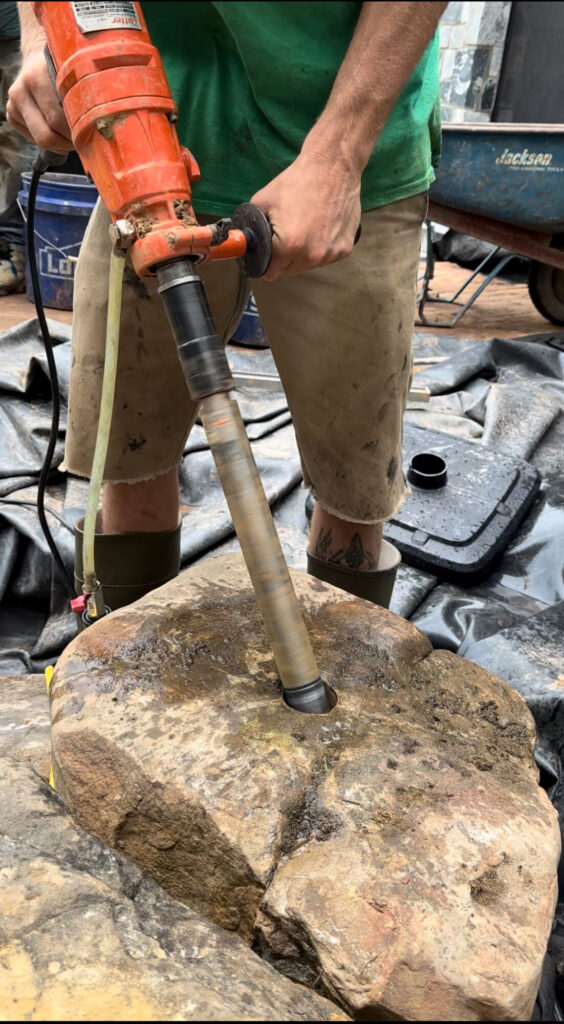
Core drill a 1 1/2″ hole through the boulders. When deciding where to drill you want to keep in mind the shape of the rock for functionality as well as looks. The hole should be drilled at a point where the water will look nice and cover the rock when flowing and also a spot where the boulder is strong and will not break during drilling.
Step #13
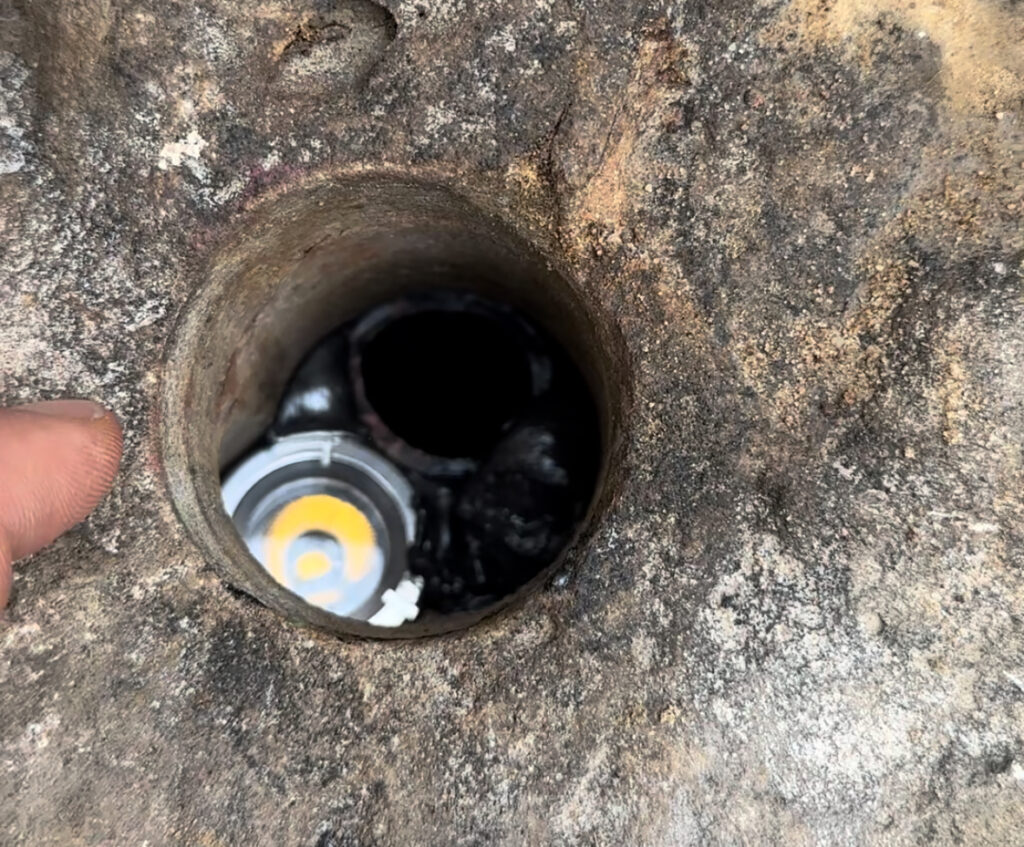
After drilling the first hole through the rock where the water will flow we drill a smaller 1″ hole at an angle. This new hole we do not drill through the entire boulder but instead create a cavity where we will be able to place a low voltage underwater pond light.
Step #14
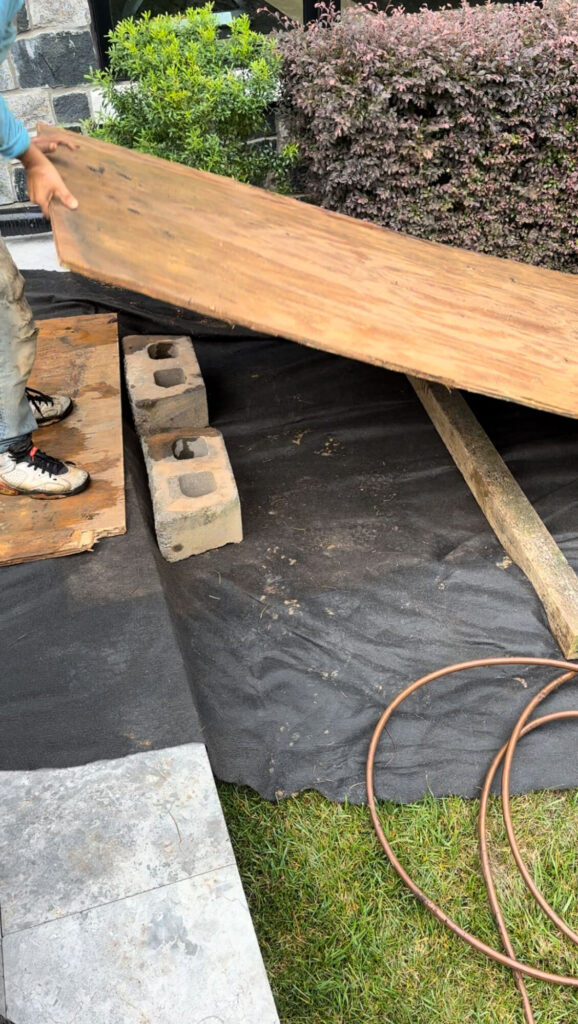
We had to build a ramp to get the boulders up a step. We used a 4X4 and two wall blocks in order to take all the pressure off the paver ledge when moving the boulders as to cause no damage to the pavers.
Step #15
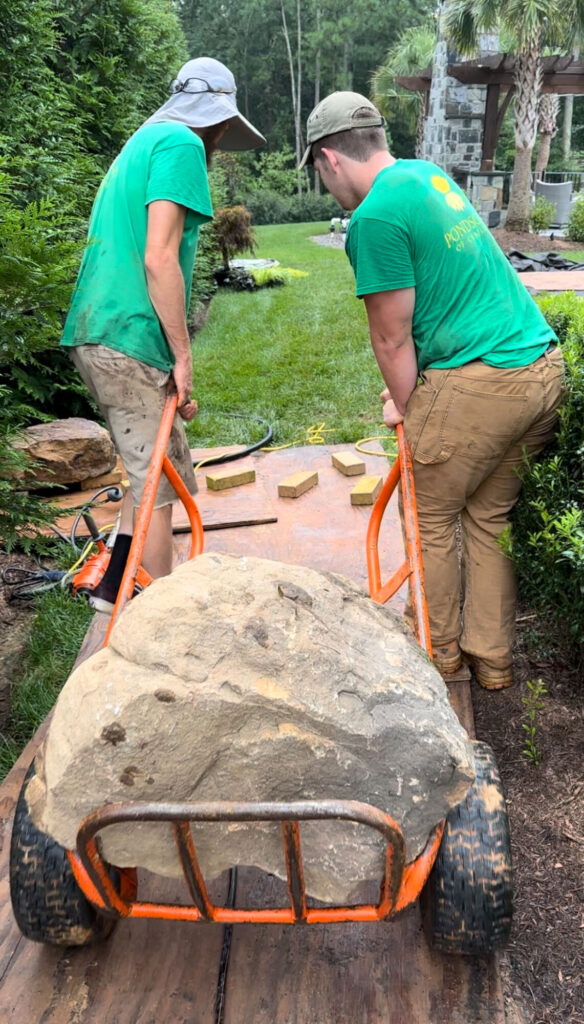
Using a ball cart we moved the boulders yp the ramp to the backyard where the boulders would be placed.
Step #16
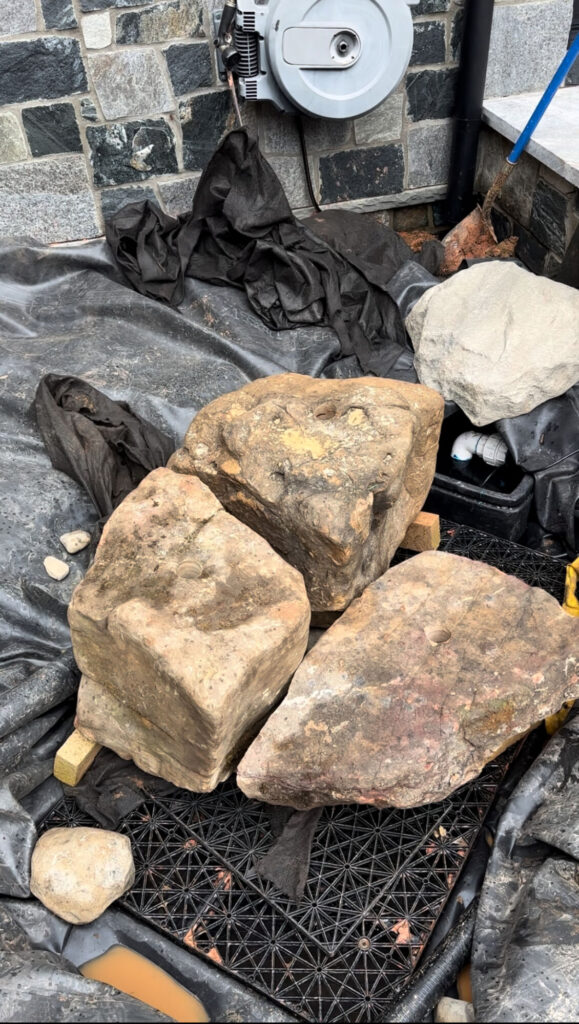
We positioned the three boulders in an aasthetically pleasing way while also having them sit on blocks so we could easily get our plumbing and lighting conduit ran underneath the boulders.
Step #17
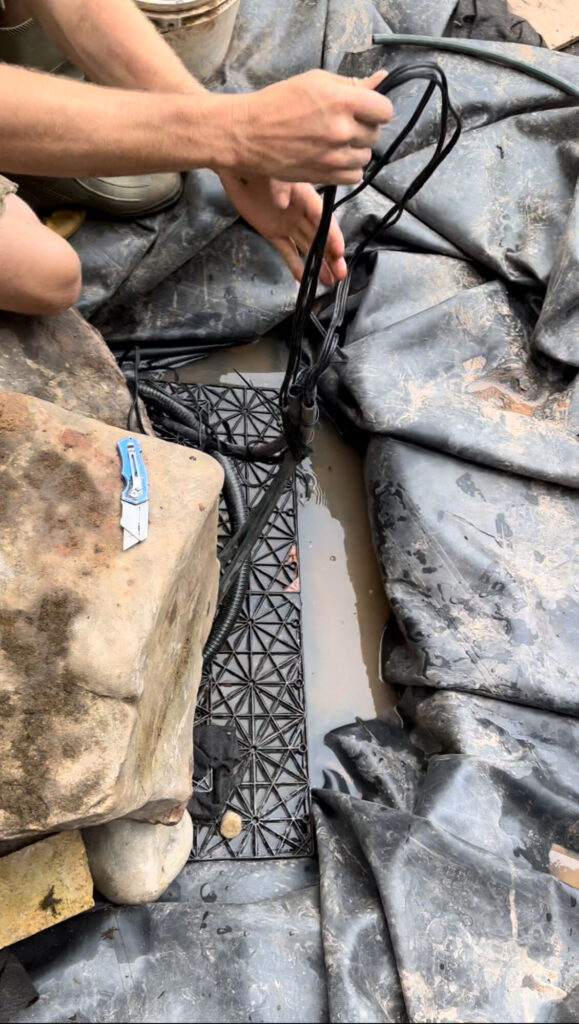
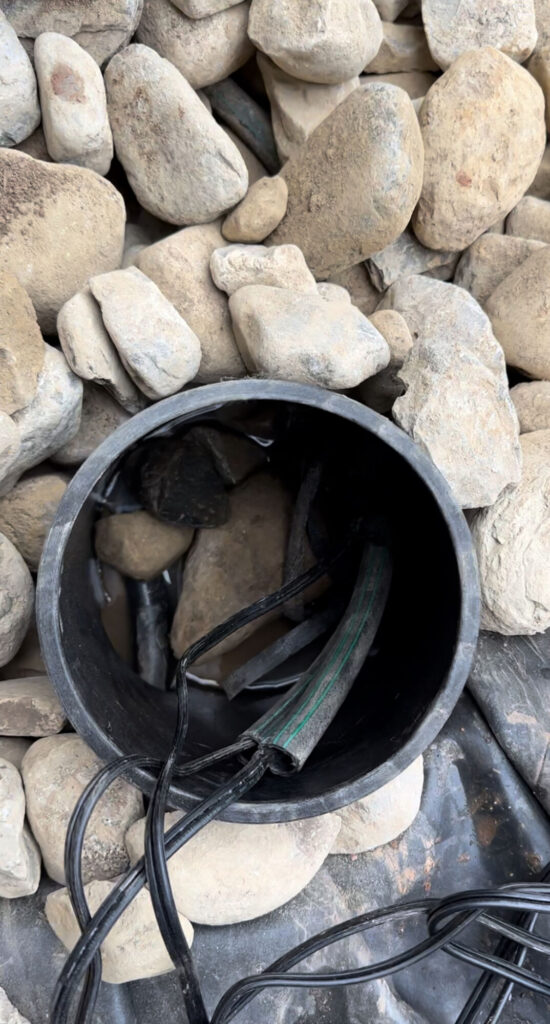
Run 1″ plumbing down through the boulders as well as a flexible conduit line for the lights. The plumbing should make its was back to the pondless reservoir vault and the lighting conduit should make its way to a small irrrigation box that will be easily accessed later incase we need to replace a light later. Make sure the lighting conduit does not make any sharp bends so it is easy to fish a wire through later if needed.
Here you can see the top of the bubbling boulder where we have the pipe and the light recessed into the boulder.
Step #18
Connect the three lighting wires to a “home run wire” then run the home run wire out of the feature and to a low voltage lighting transformer. The connection should be made with grease wire nuts inside of the irrigation box.
Step #19
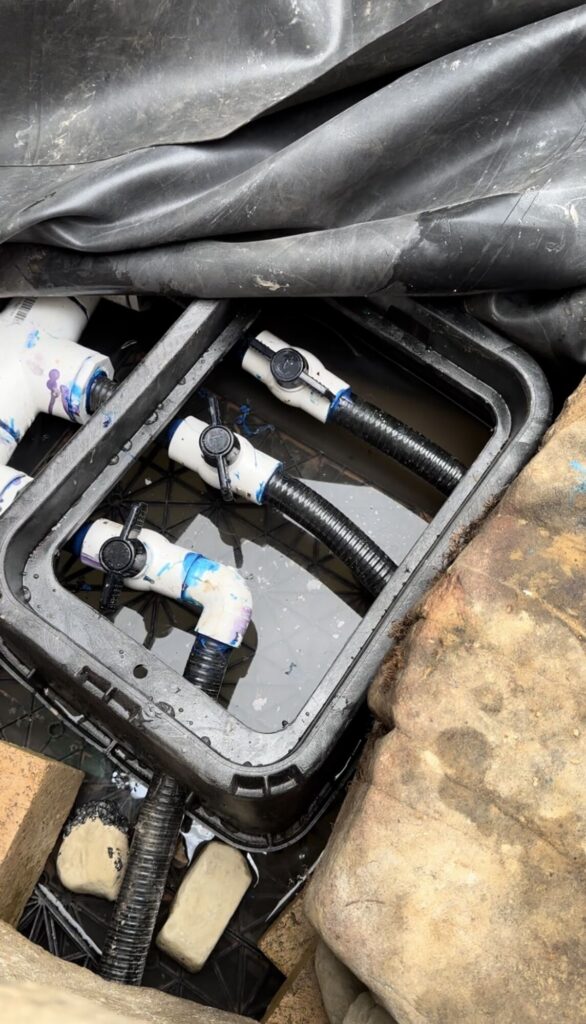
Run the 1″ plumbing to an irrigation box inside the feature and have 1″ ball valves that can control the individual flow coming out of the boulders. The lines should connect into a manifold that then runs a 2″ pipe into the pondless reservoir vault where the pump is located.
Step #20
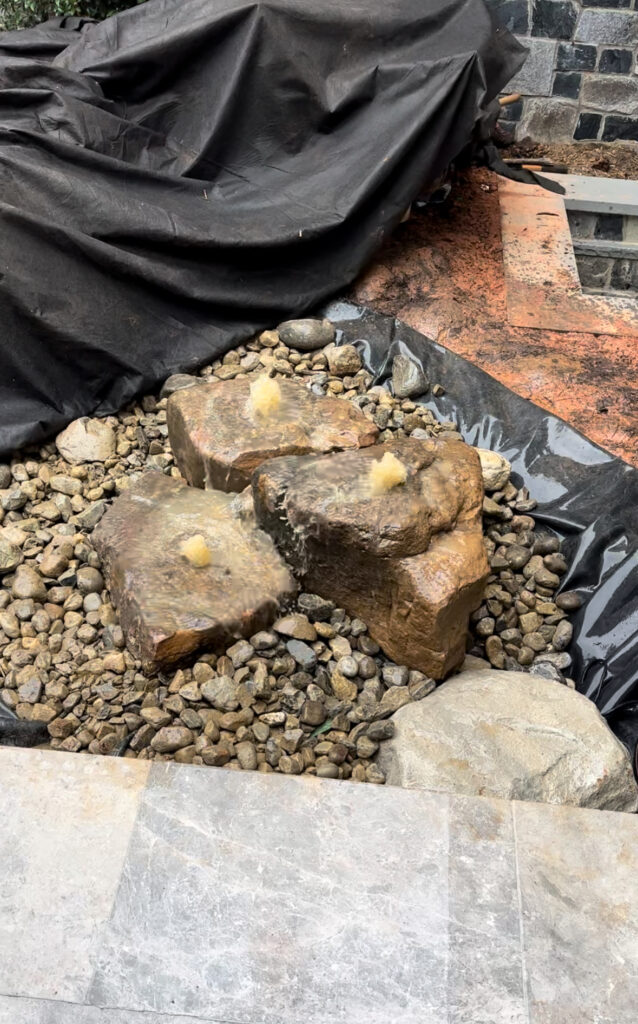
Plug in the pump and adjust the ball valves so that the correct amount of water is going over each boulder. Once you have done this you can trim the excess liner from the sides. Be extra careful not to trim too much liner off. You want to have the water feature running during this process so you can make sure you are capturing all the splash inside the liner.
Step #21
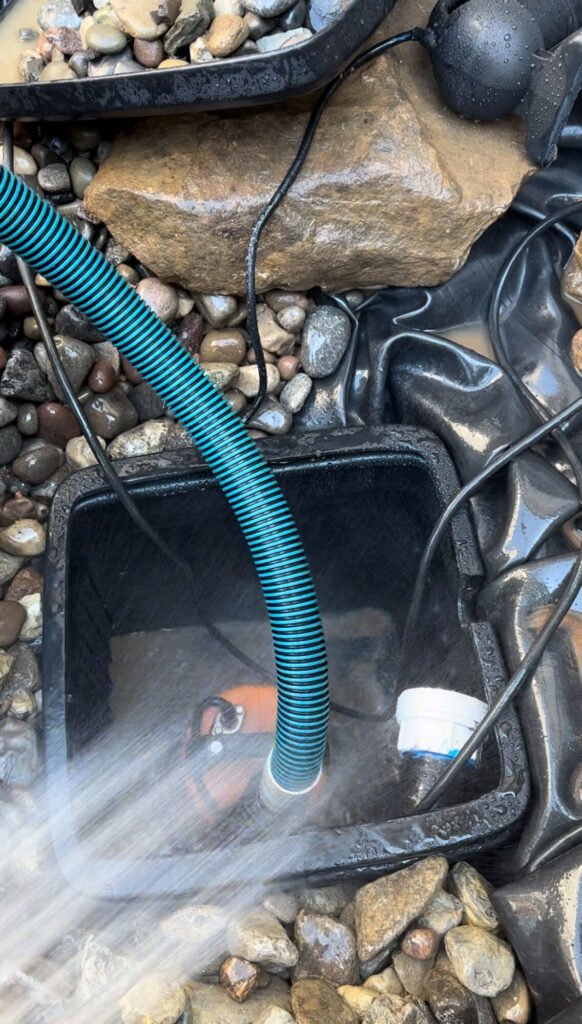
Once you have covered all the liner with stone and “edged” the water feature unplug and remove the pump. Add a clean out pump the bottom of the reservoir and drain out all the dirty water.
Step #22
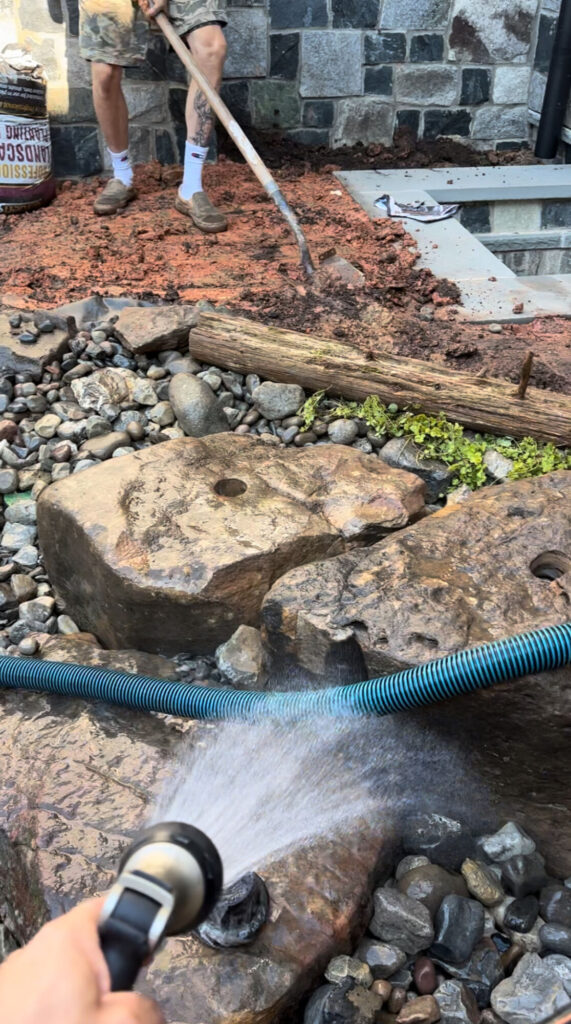
rinse off all of the dirty rocks having the dirty water make its way into the bottom of the reservoir where the clean out pump is pumping out all the dirty water. Once cleasn you can fill the feature back up with clean water and turn it on.
Step #23
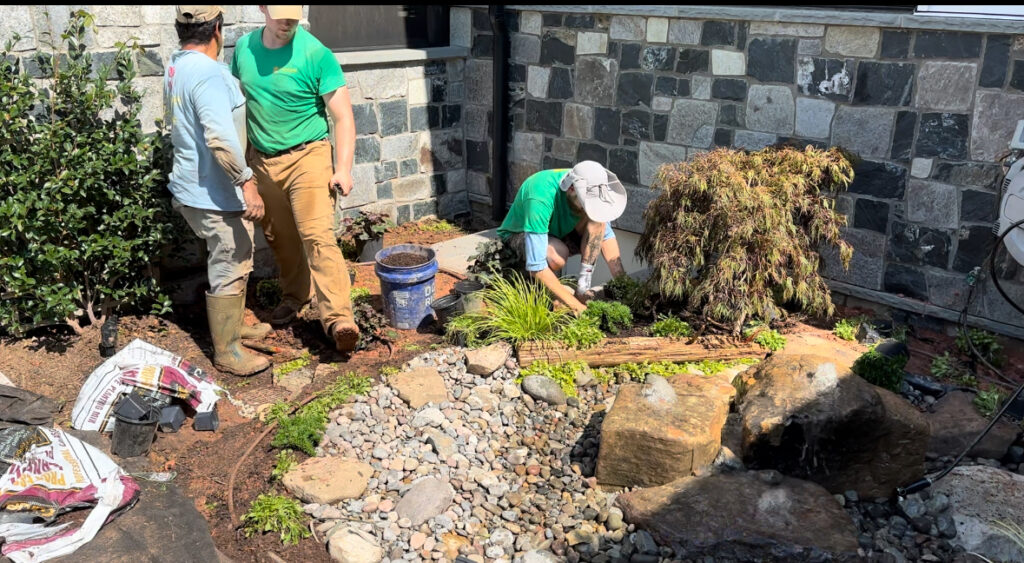
Add landscape and mulch around feature
Step #24
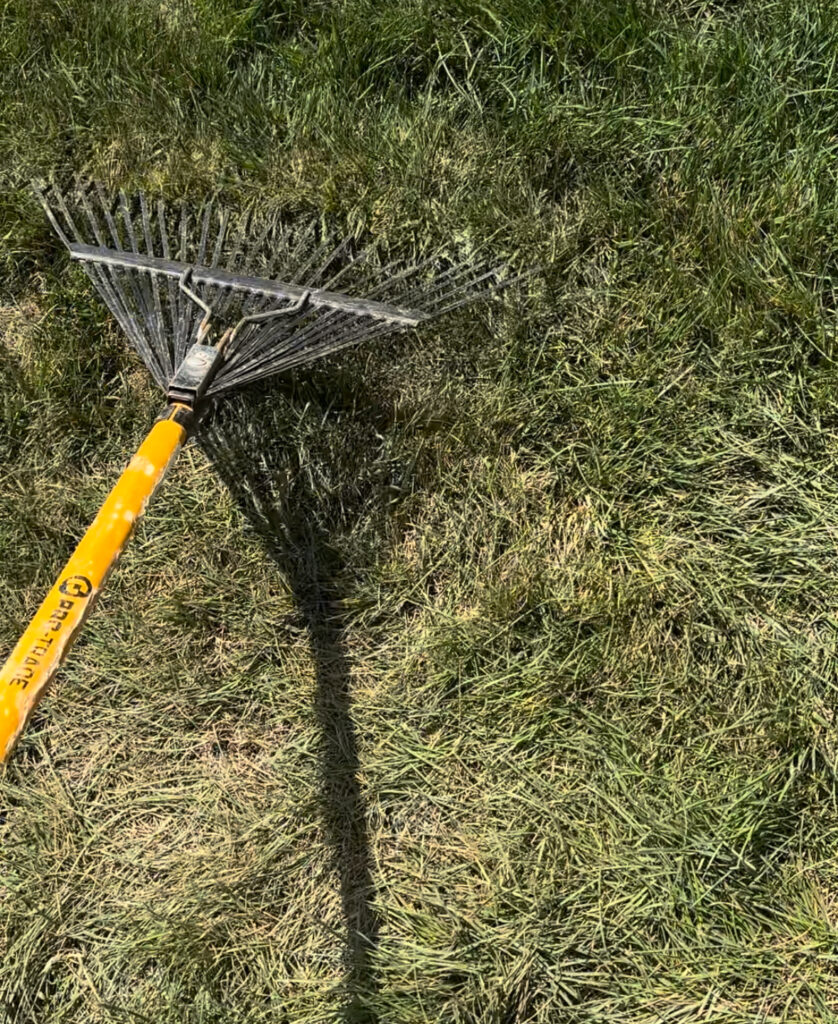
Rake and water the grass where the plywood was.
Step #25
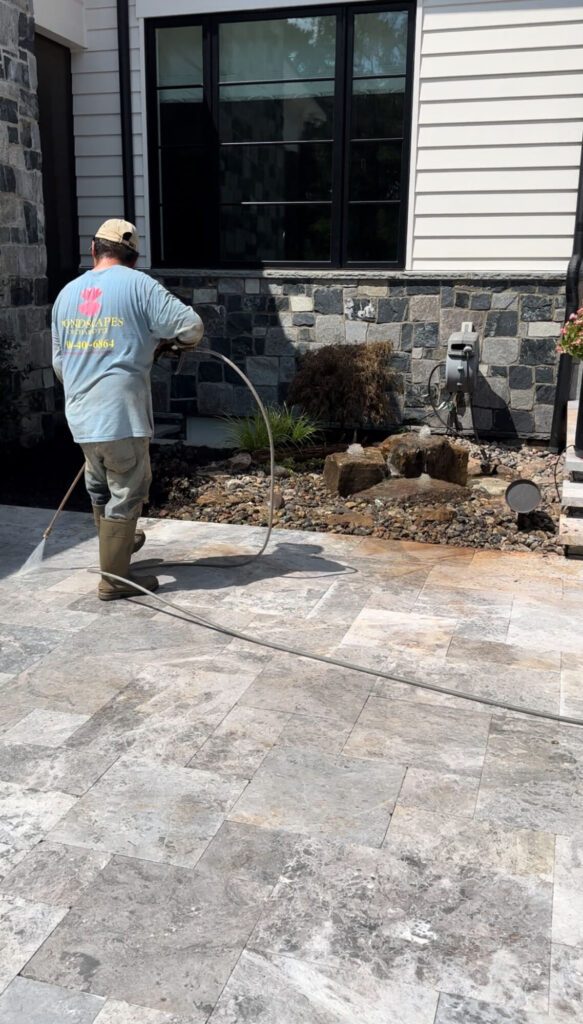
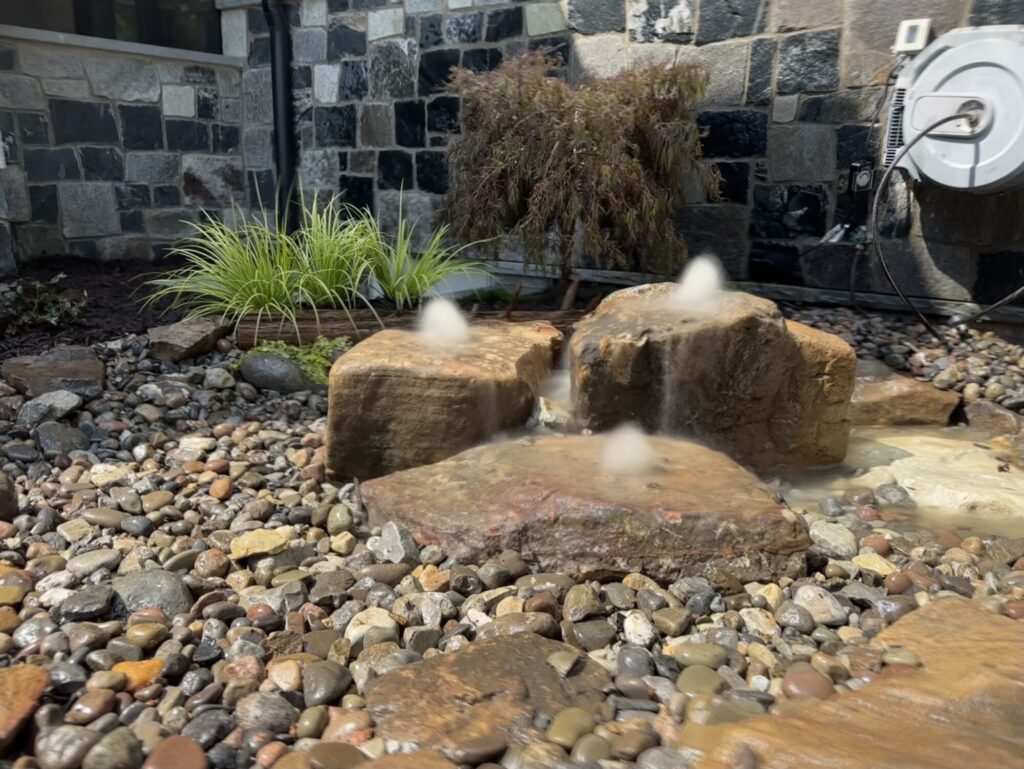
Pressure Wash and clean up around the work area. The project is done and ready for the customer to enjoy!
Check Out the Natural Koi Pond we built in Weddington, North Carolina Here

